How to Install Windows 11 on Hyper-V Using the GUI
You can create a Windows 11 virtual machine in Hyper-V by importing the ISO file for Windows 11 (Windows 11_24H2_Englishx64.iso) into a Hyper-V virtual machine.
Big credits to The Artmann for creating this video, How to Install Windows 11 on Hyper-V Virtual Machine. The steps in his video are similar to the steps that I am documenting here. However, I am including additional troubleshooting steps and instructions for how to get past Windows Hello For Business (WHFB) biometrics driver issues.
Here are the steps for how to deploy a Windows 11 virtual machine in Hyper-V:
-
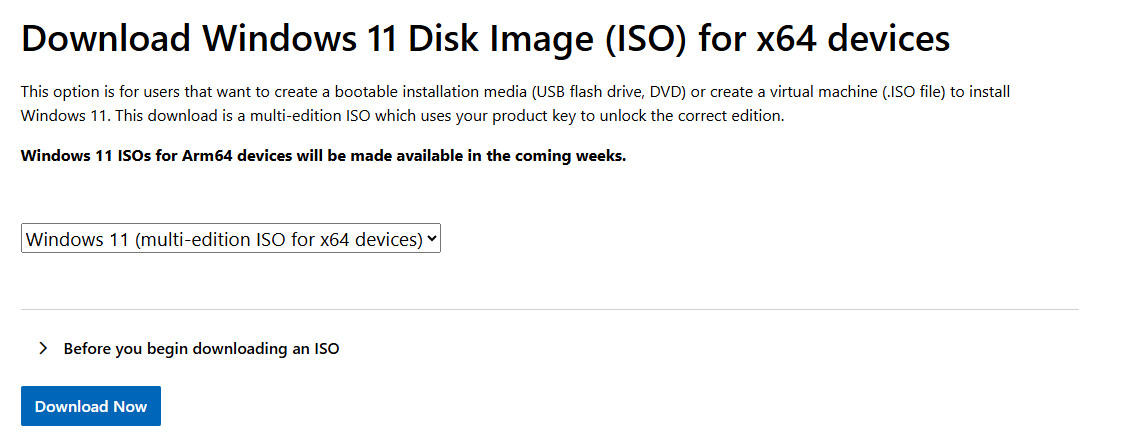
Download Windows 11 ISO by going to the Download option for Windows 11 on the official Microsoft software download page. Download Windows 11
-
Under “Download Windows 11 Disk Image (ISO) for x64 devices”, select Windows 11 (multi-edition ISO for x64 devices). Then download it.

-
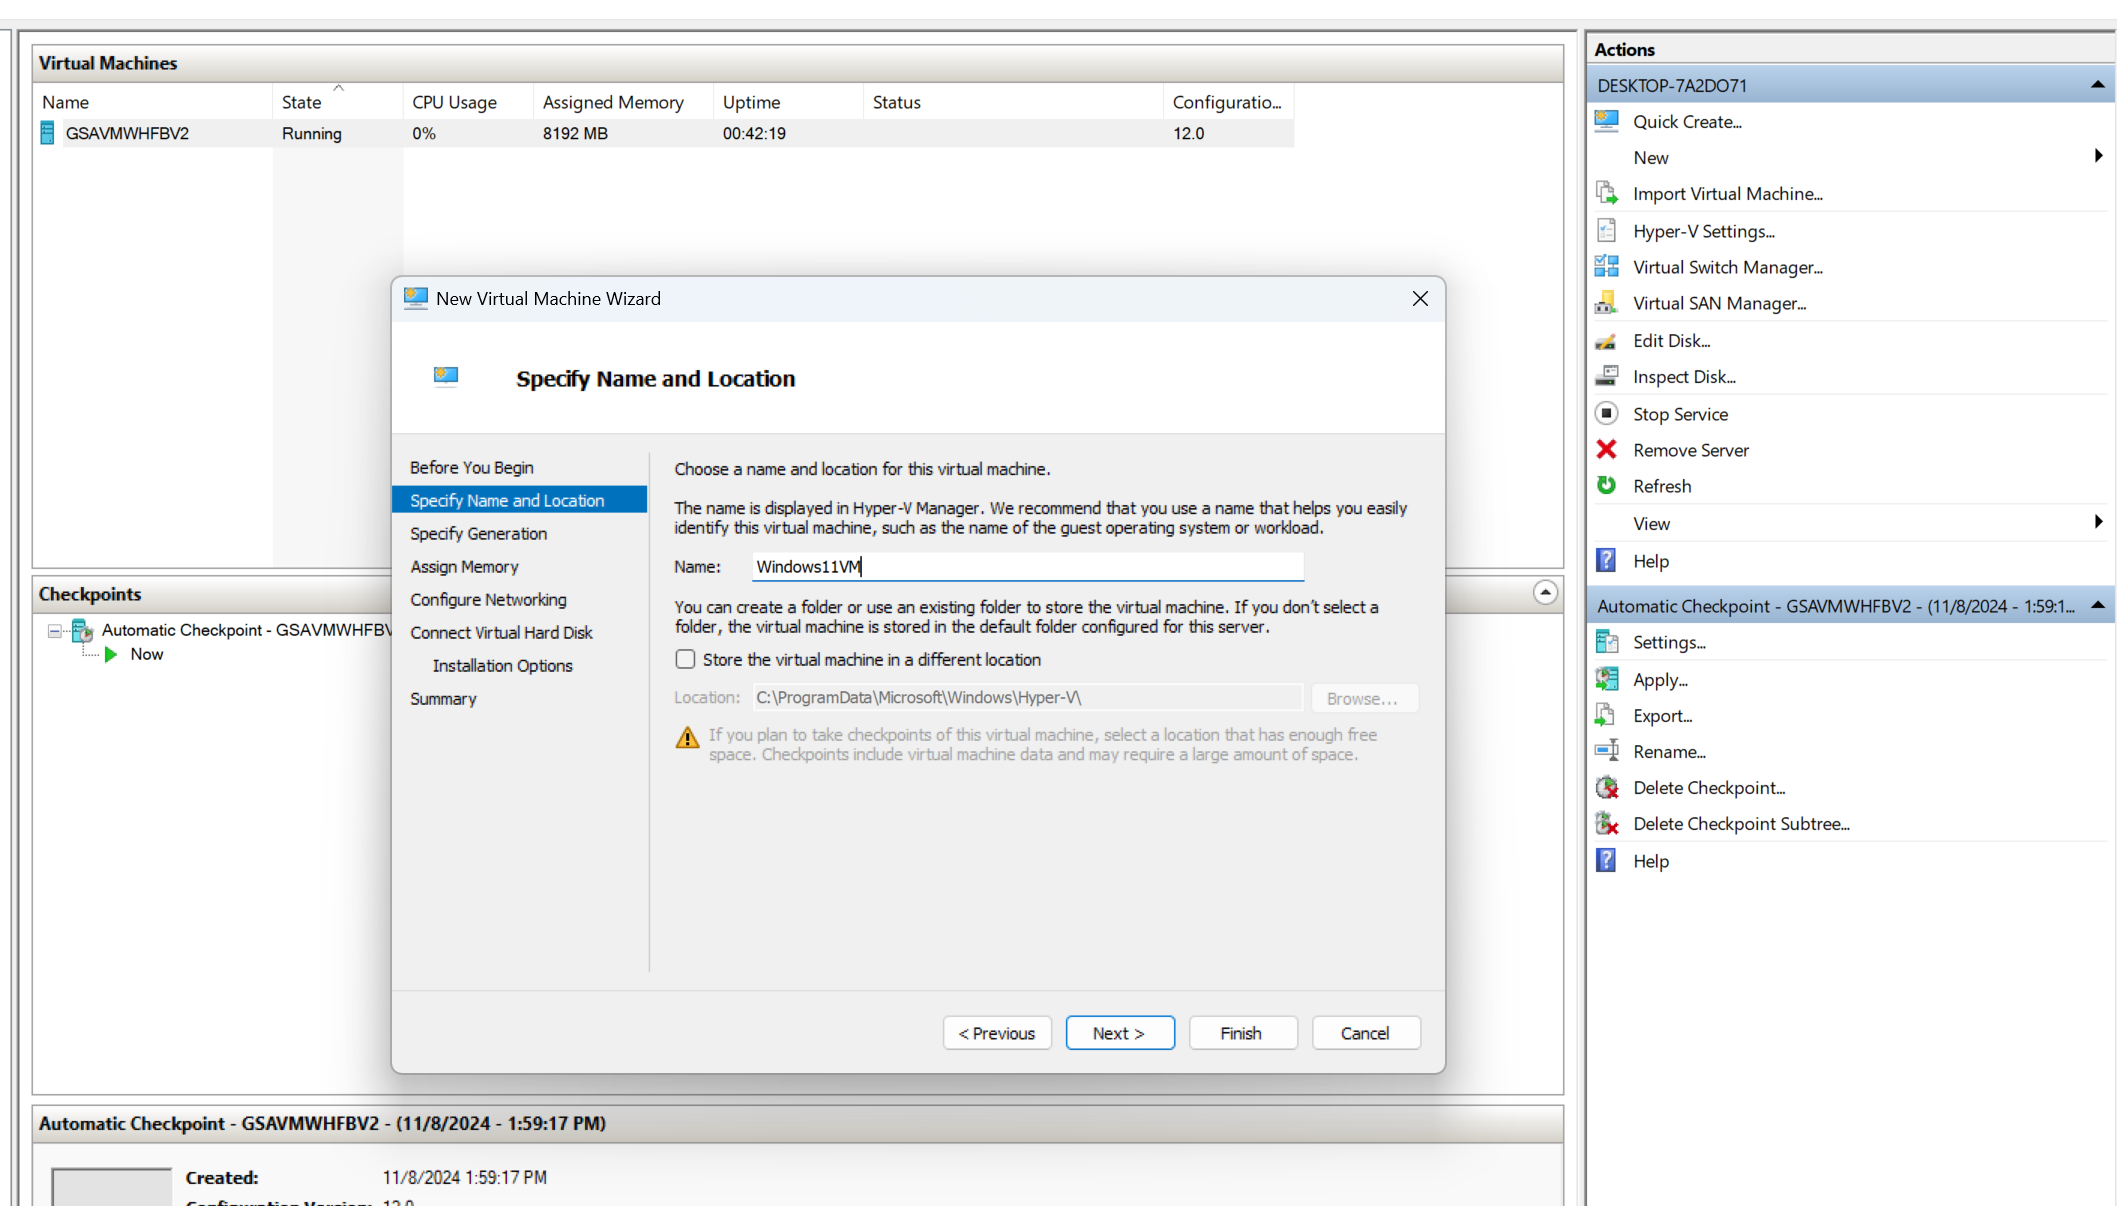
While the ISO file downloads, go to the Hyper-V Manager and select New > Virtual Machine to create a new virtual machine.
-
Give the virtual machine a name.

- Select “Generation 2” for the generation.

- Assign memory to the virtual machine and optionally uncheck “Use Dynamic Memory for this virtual machine.”

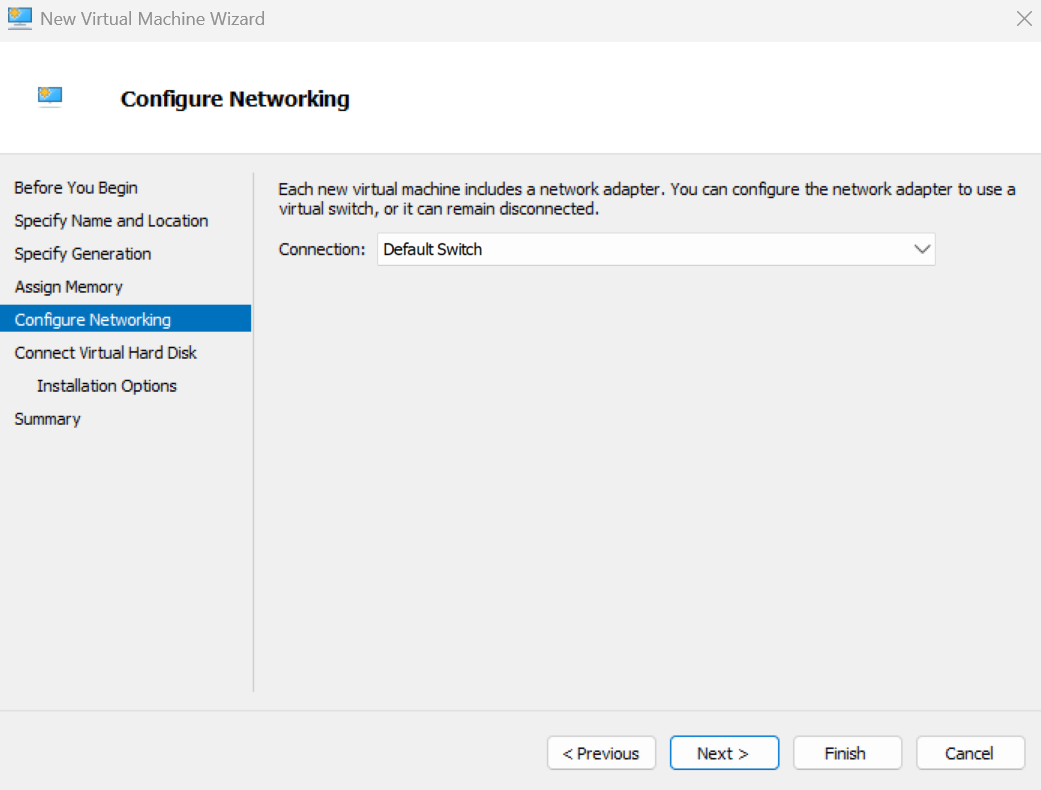
- Select “Default Switch.”

-
Select “Use an existing virtual hard disk” to import the ISO file from your downloads. The browse to downloads and select the ISO file for Windows 11_24H2_Englishx64.iso
-
Hit “Finish.”
-
In the virtual machine settings, select “Enable Secure Boot” and “Enable Trusted Platform Module”

11.Select the number of virtual Processors.

-
Stop the virtual machine and hit Connect. Then restart the VM to get past the “Press any key to boot from CD or DVD” error. Note: in The Artmann’s video about this process, he recommends shutting down the machine, clicking on start, holding down the space key, and hitting “Connect” to get past the error. In my case, I also encountered the error but only had to restart the virtual machine. (Reference: How to Install Windows 11 on Hyper-V Virtual Machine.)
-
Now you should be prompted to set up Windows 11. In the Windows 11 startup, select “Windows 11 Pro.” Note that Hyper-V is only available on Windows 10 or 11 Pro or Enterprise (and not on the Home version)
After the installation finishes, it’s possible that you will not have the drivers included for biometrics and Windows Hello For Business.
To fix this, select the icon at the top in the session for “Enhanced Session” switch from an Enhanced Session to a basic session (see below screenshot).

Then you will be prompted to set up Windows Hello.
