Configure Pass-Through Authentication in Azure Active Directory Through the AAD Connect Wizard
The goal of this post is to help clarify some confusion about setting up Pass-Through Authentication in Azure AD Connect and outline the steps for completing the Azure AD Connect Wizard. Stepping through the AAD Connect Wizard and setting up PTA may seem simple at first, but the tool has some tricky idiosyncrasies that are worth noting. The below steps will help you work through them.
When you have added a custom domain in the Azure Portal and are ready to configure the connect wizard, follow these steps to sync your on-premises directory with Azure Active Directory.
-
Browse to the Microsoft store from your Sync virtual machine to download Microsoft Azure Active Directory Connect. You will need to disable all security settings in the virtual machine’s browser in order to use the Internet and install the wizard. You can do this through the security settings in the browser itself, or you can go to Server Manager > Local Server > IE Enhanced Security Settings and turn the security settings off.
-
After you have installed the wizard, double-click on the AD Connect icon, select the “Custom Settings”, and hit “Next.”
-
At the user sign-in step, select “Pass-through authentication”
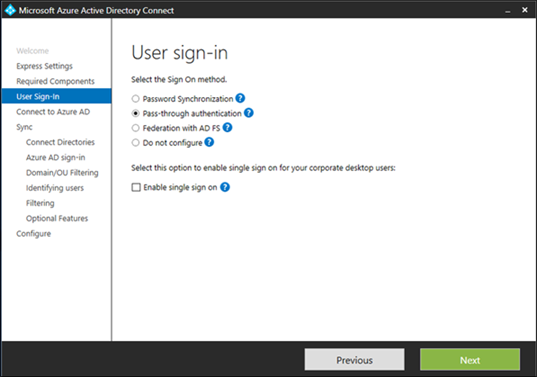
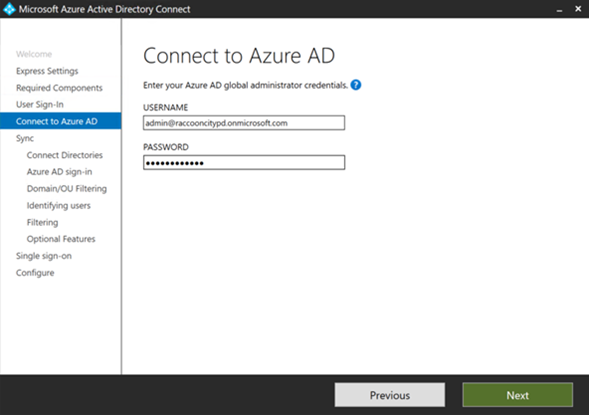
- Enter your Azure AD global administrator credentials from the admin account created on the tenant. This step is crucial because these credentials are needed later at the synchronization step. It is important to enter the cloud tenant administrator credentials from an account that had authority over the tenant prior to the existence of the domain. The wizard will allow you to enter regular cloud administrator credentials here, but it will error in the final step if the login here is not the global cloud tenant administrator.
- Enter the domain name and connection information for your on-premises directory.
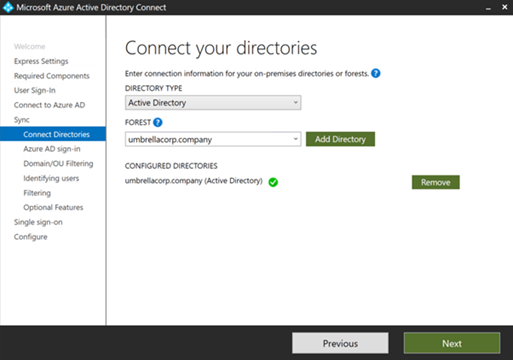
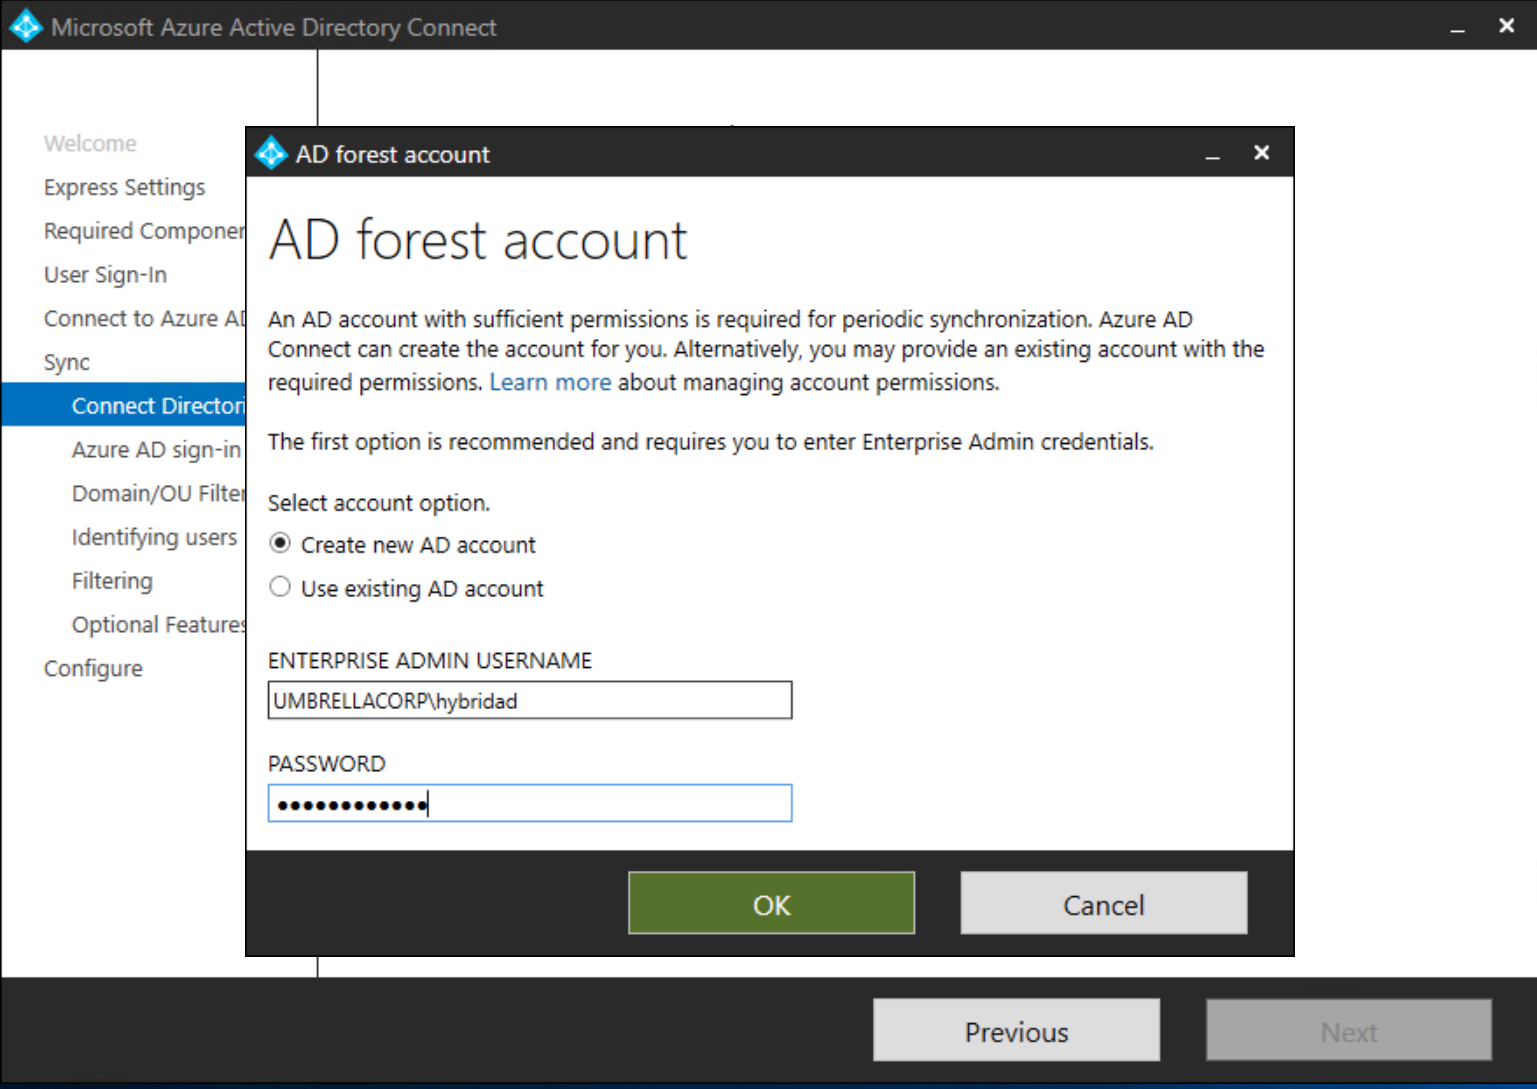
- Click “Add Directory and in the “AD Forest Account” window type in Enterprise credentials of your local AD.
- Select the on-premises attribute to use as the Azure AD username.

- Select the domain(s) to sync.
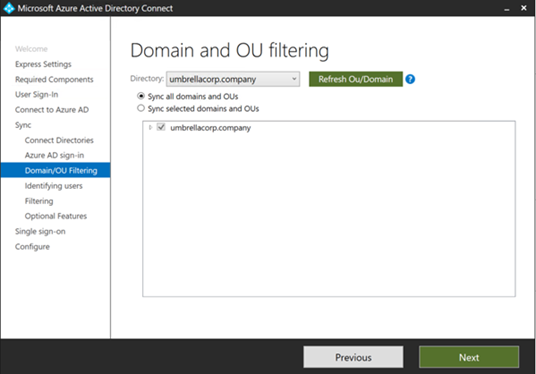
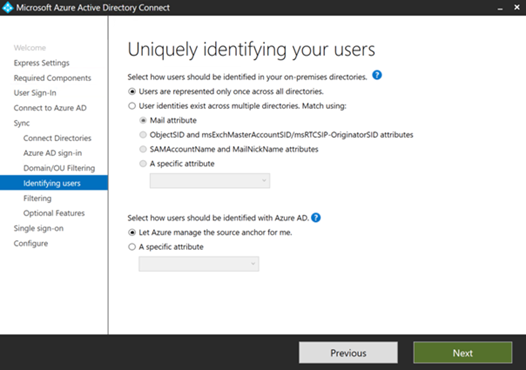
- Select how users should be identified.
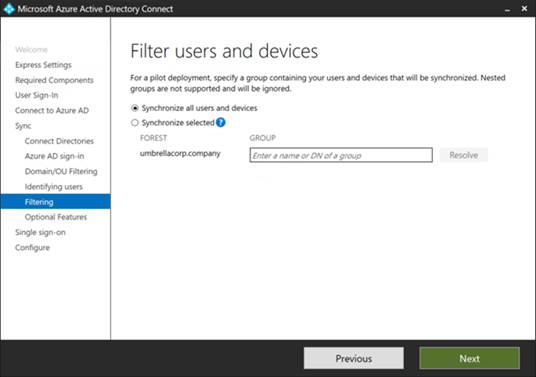
- Synchronize users and devices.
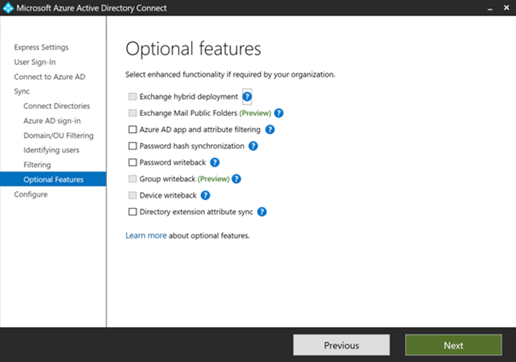
- Select optional features.
- Hit “Next” and wait for the configuration to complete.
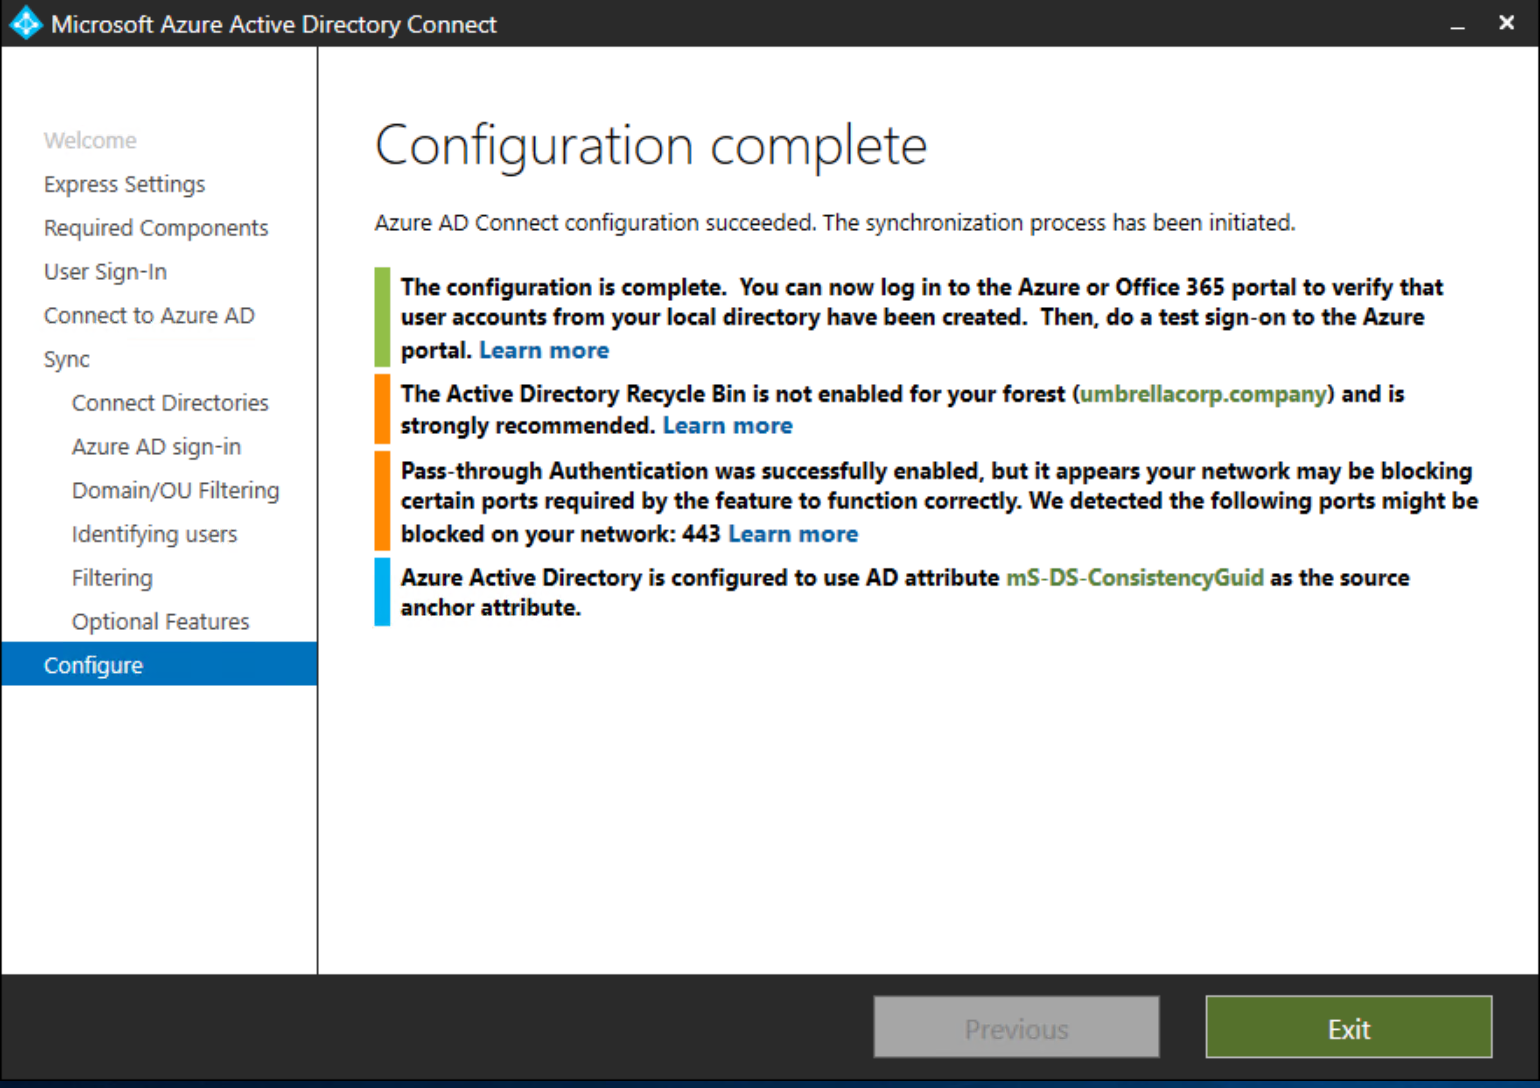
- After you have completed the sync, add some new users to your Domain Controller forest and test to ensure that these users sync to Azure Active Directory.
For additional information on Azure AD Connect, see: